RECIPE NOTEBOOK
Your own Recipe Notebook lets you save your favorite recipes, secret ingredients, and family recipes in an easy-to-see layout, while enjoying the whole process!
Step 1
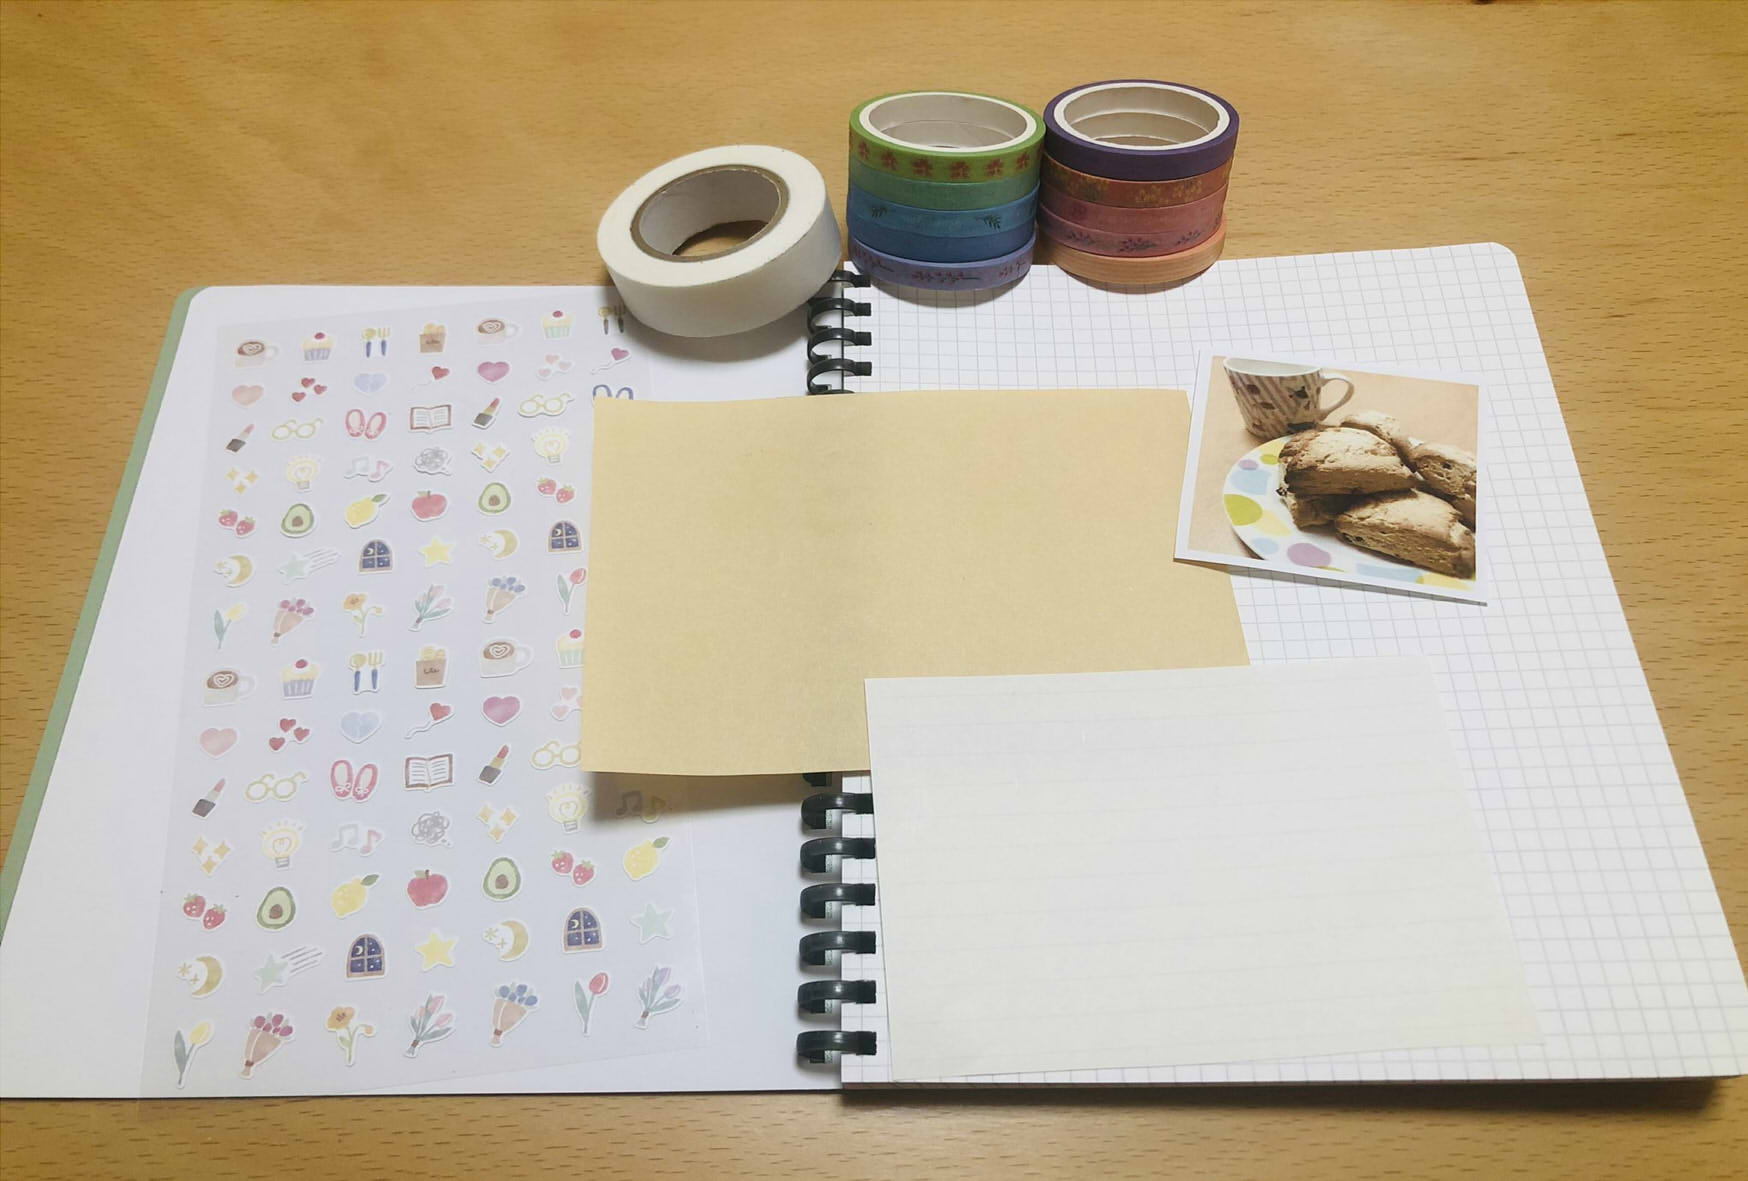
What to prepare:
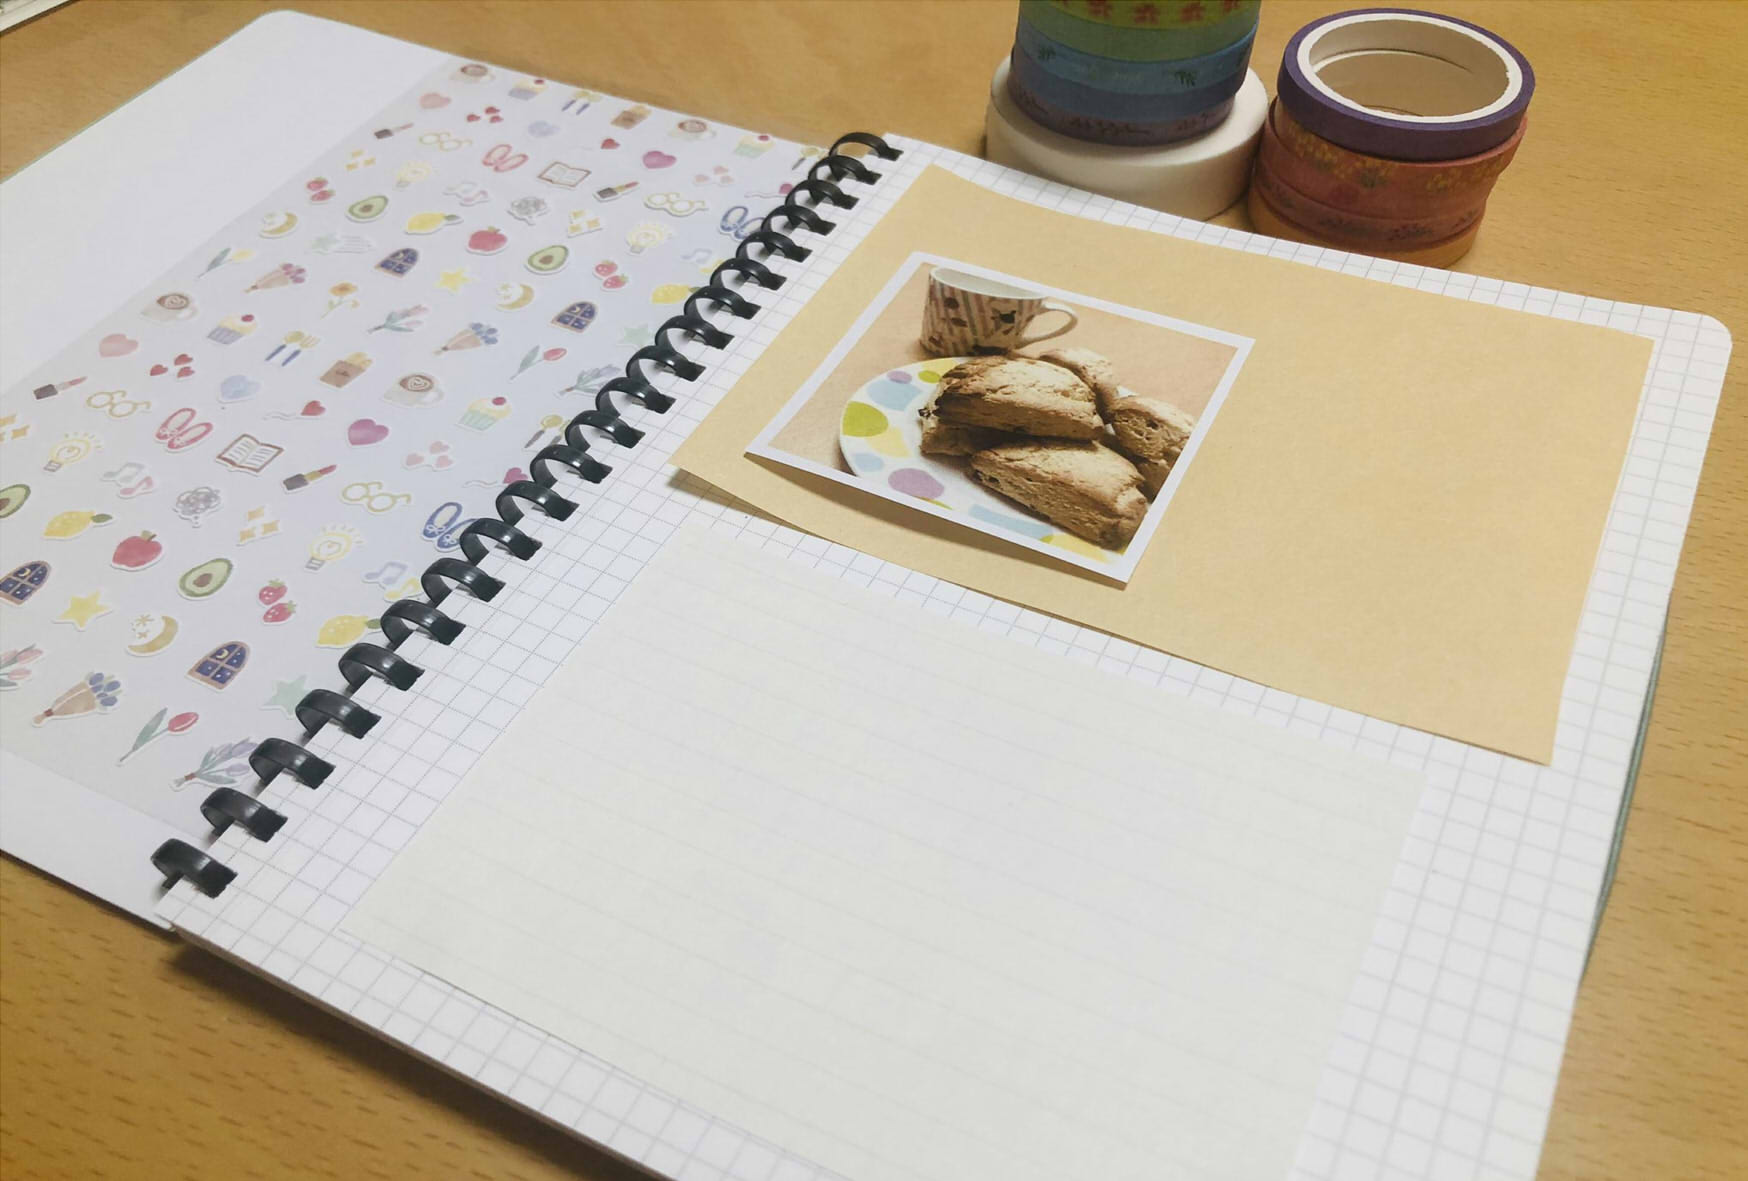
I decided to make a recipe with color-printed photos for the chocolate scones I made. To give it a natural look, I cut out a kraft paper envelope and used soft-colored masking tape.
Step 2
Decide on the layout:
Decide how you want to lay it out on your notebook. I used the Sooofa notebook, which is gridded for easy layout. On the top half, I put the title, photos and ingredients, then recipe on the bottom half. I decided to paste materials this time, but you can always write directly on the notebook too.

Step 3
Paste it on the notebook! Paste it with glue tape to avoid wrinkles. The key is to use the grids to make sure the material comes in the center. I added some stickers I found to decorate the blank spaces. I made these scones with my daughter, so I prepared another recipe notebook for her. We had fun decorating the notebooks together!
Other Ideas
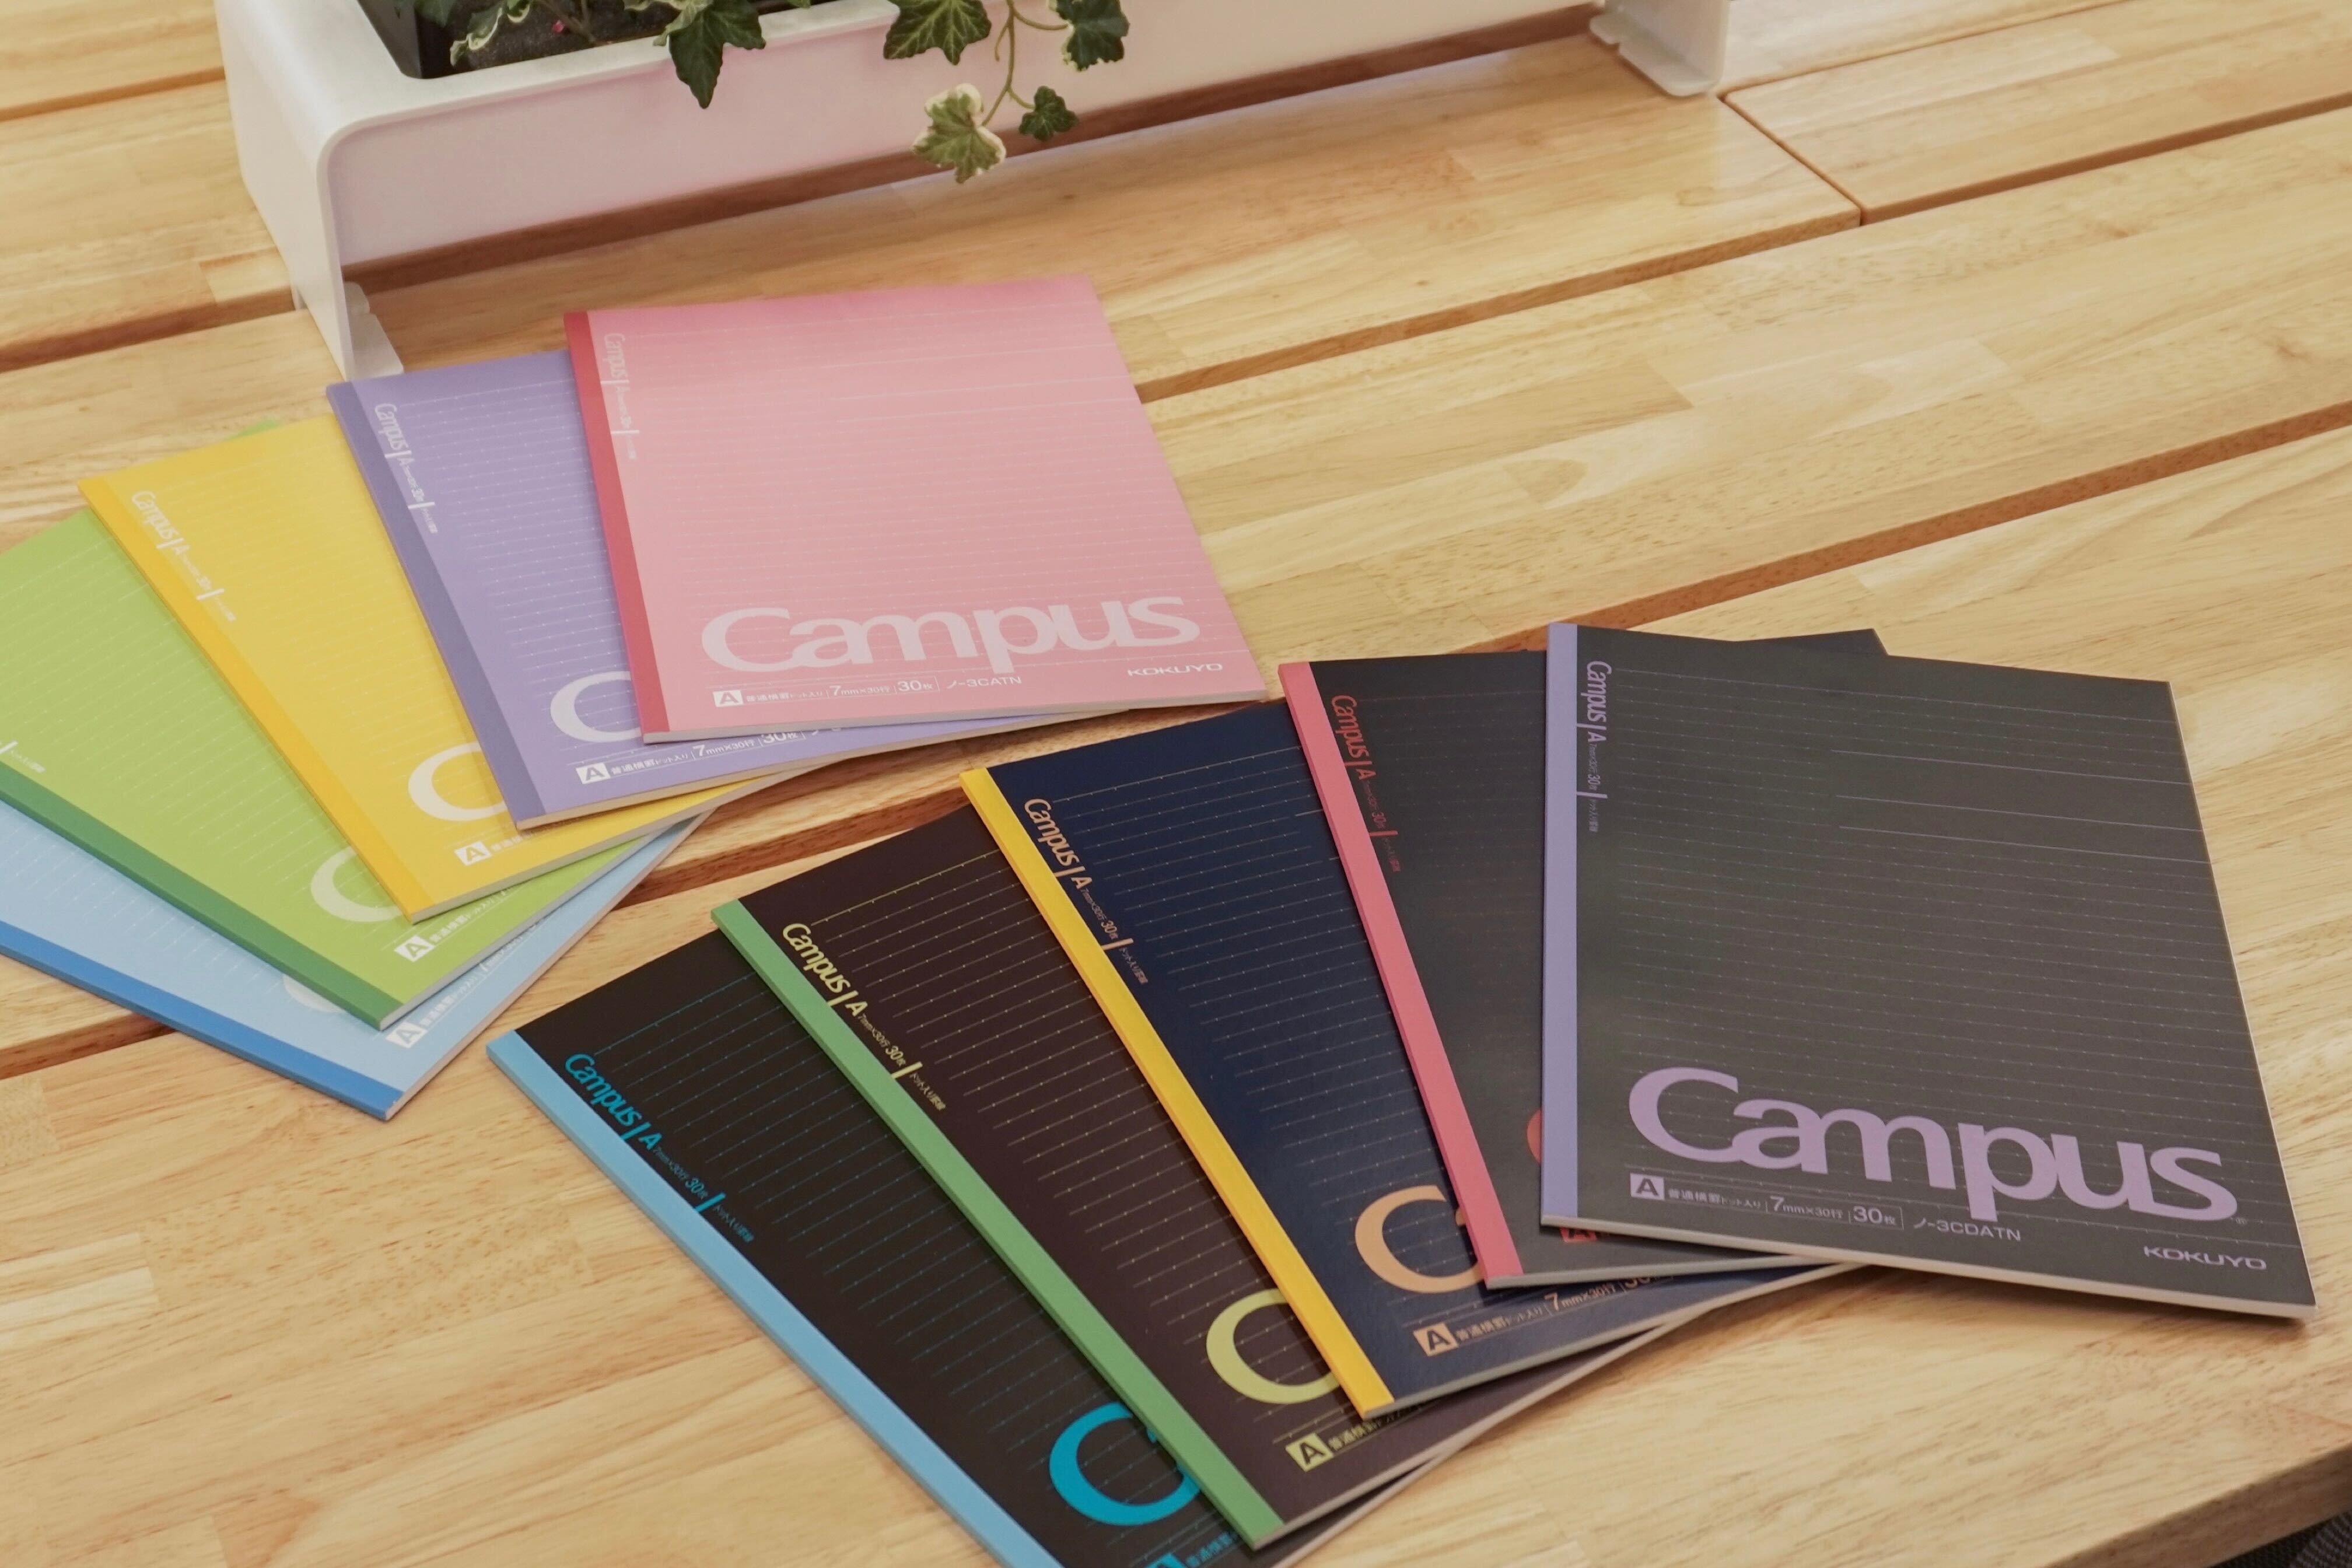
Campus Notebooks are available in various color selections and ruled line options. Keep one for each subject and increase your productivity!